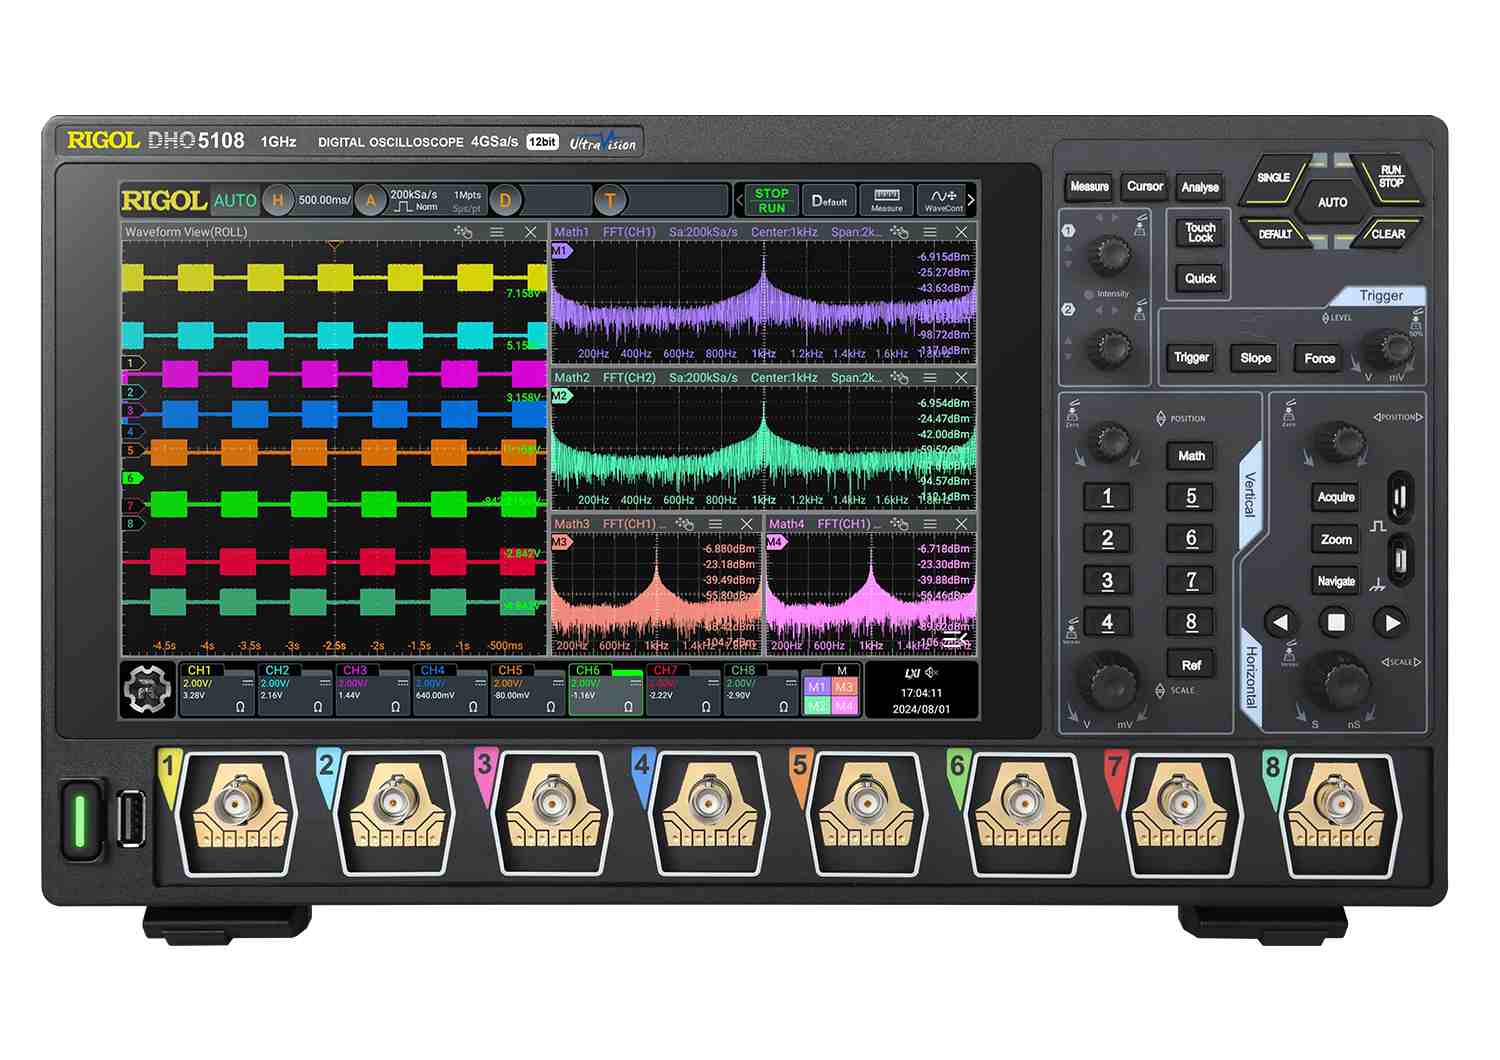
MSO5000 Software Options Bundle for FREE

Posted on: July 20th, 2020 by James

FREE Software Options Bundle including; RS232/UART, I2C/SPI, CAN/LIN, FlexRay, I2S, AWG and PWR.

RS232/UART – Decoding functions Licence.

EMBD I2C/SPI – Embedded Serial Bus Trigger and Analysis.

AUTO CAN/LIN – Auto Serial Bus Trigger and Analysis.

FlexRay – FlexRay Serial Bus Trigger and Analysis.

Audio I2S – Audio Serial Bus Trigger and Analysis.

AWG – Dual-Channel 25MHz Arbitrary Waveform Generator.

PWR – Built-In Power Analysis Ripple and Power Quality measurements.

Worth £571.00

Please click HERE to see the MSO5000 Series Category.

DS/MSO2000A Software Options Bundle for FREE!

Posted on: July 20th, 2020 by James

FREE Software Options Bundle including Advanced Trigger Functions, Serial-Bus Decoding and CAN-Bus!

Advanced Trigger Functions – Advanced trigger functions (Windows, Nth Edge, HDTV, Delay, Time Out, duration & USB).

Serial Bus Decoding Functions – RS232, I2C & SPI bus decoding functions.

CAN Bus Trigger and Decoding Functions – CAN bus trigger & decoding functions.

Deep Memory Option – Increases the maximum memory depth to 56Mpts.

Worth £227.85!!

Please click HERE to see the DS2000A Series Category.

Please click HERE to see the MSO2000A Series Category.

DS1000Z / Z-S / Z-E Software Options Bundle for FREE

Posted on: July 17th, 2020 by James

FREE Software Options Bundle including Advanced Trigger Functions, Serial-Bus Decoding and CAN-Bus!

Advanced Trigger Functions – The Rigol AT-DS1000Z advanced trigger functions licence permanently enables the following trigger functions – RS232, I2C, SPI, Runt, Windows, Nth Edge, Delay, Time Out, Setup/Hold.

Deep Memory – The Rigol MEM-DS1000Z licence increases the maximum memory depth to 24Mpts (from 12Mpts).

Serial Bus Analysis – The Rigol SA-DS1000Z serial bus analysis licence permanently enables the serial bus triggering and decoding functions (RS232, I2C & SPI).

Record & Replay – The Rigol REC-DS1000Z record and replay licence permanently enables the waveform record and replay functions.

Worth £205.00!!

Plus new price reductions on applicable models!

Please click HERE to see the DS1000Z Series Category.

What will my unit come with as standard?

Posted on: July 16th, 2020 by James

All Rigol units will come with a UK Power Cable, PDI & Safety Test as standard.

All other Standard Accessories will be dependant on the products that was purchased.

Can I get help with programming my instrument?

Posted on: July 16th, 2020 by James

RIGOL provides drivers and programming functions as part of your warranted and purchased package. Programming itself can be achieved in many different ways with tools which are largely the choice of the customer. For this reason, we can’t support your systems but we can sometimes help you find information – we ask you to first review the programming guide for your instrument and make sure it is successfully connected to your computer system and then if a fault is found in the way the instrument responds to commands we can feedback and ask if there might be warranty support available, or a UK person to assist, subject to your terms of purchase.

What file formats does RIGOL use for storage of waveforms etc? What is the different between Trace and Waveform?

Posted on: July 16th, 2020 by James

To access, on oscilloscopes for example, press [Storage] to select the desired storage type. The default is “Picture”.

The storage and recall descriptions of each type are as follows, with the examples in this case taken from as DS2000-series oscilloscope (so other instruments such as DG-series won’t offer everything below):

1. Traces
Save the waveform data in external memory in “*.trc” format. The data of all the
channels turned on can be saved in the same file. The difference with waveforms is at recall, the data will be
displayed on the screen directly.
2. Waveforms
Save the waveform data in external memory in “*.wfm” format. The stored files
contain the waveform data of the two analog channels and the main setting
information of the oscilloscope and all the data can be recalled.
3. Setups
Does not recall all data: instead Setups save the settings of the oscilloscope in internal or external memory in “*.stp”
format. At most 10 setting files (from LocalSetup0.stp to LocalSetup9.stp) can
be stored in internal memory. The stored settings can be recalled but not raw data.
4. Picture
Save the screen image in external memory in “*.bmp”, “*.png”, “*.jpeg” or
“*.tiff” format. You can specify the file name and saving directory and save the
corresponding parameter file (*.txt) under the same directory using the same
file name. The recall of image and parameter files is not supported.
After selecting this type:
Press Pic Type to select the desired storage format.
Press Para.Save to enable or disable the parameter save function.
Press Inverted to enable or disable the invert function.
Press Color to set the color of the image. It can be set to “GrayScale” or “Color”.
Press Header to enable or disable the header function. When it is enabled, the
header would display the instrument information, such as the model, date and
time. Press Footer to enable or disable the footer function. When it is enabled, the
footer would display the serial number of the instrument.

TIPS: After a USB storage device is connected, press at the front panel to quickly
save the current screen image under the root directory of the USB storage device
in “.png” format by default.
5. CSV
Save the waveform data displayed on the screen or of the specified channels in
external memory in a single “*.csv” file. You can specify the file name and the
saving directory and save the corresponding parameter file (*.txt) under the
same directory using the same file name. The recall of CVS and parameter files
is not supported.

After selecting this type:
– Press DataDepth to select “Displayed” or “Maximum”. After selecting
“Maximum”, press Channel to select the desired channel (note that only
channels currently enabled can be selected).
– Press Para.Save to enable or disable the parameter save function.

6. ARB – (DS2000A-S series with internal signal Source ONLY).
The Edit function within the SourceSetup menu offers the facility to save
in one further format of file: .ARB
This file contains the Arbitrary Waveform data used when you select this type of waveform to be
generated from the internal dual 25MHz source(s).

USB stick / flash drive / memory sticks must fully compliant with USB2.0* standard compliant w/Win7 – Info on good sticks, esp. earlier models:

Posted on: July 16th, 2020 by James

We have found many instruments to be fussy about USB sticks (more common on instruments of slightly longer-standing design).

Like PictBridge standard, USB memory specs can be quite open to interpretation and may vary between manufacturers. Please try the following guidelines if you are having difficulty – it is especially important you can rely on the stick you have chosen, if you decide to do any firmware updates on your machine*.

1) Smaller sticks are generally better –
– if you can, on older instruments steer clear of sticks above 4GB
– N.B. For saving DATA only: Newer models may happily accept some much larger sticks for saving data, but RIGOL says avoid larger sticks for critical use.
2) Use newly formatted FAT32 sticks only
3) Check your stick reliably connects to your particular instrument before relying on it for operational use
4) If you decide to do firmware updates* you should use a new blank stick ROOT and ALWAYS check the stick is reliable in normal save/recall operation before proceeding*.

*firmware updates are at your own risk –
Telonic does not recommend this unless you decide it’s essential. (Ask for more details of our policy before proceeding so you know how this affects your RIGOL-UK warranty from Telonic).

X-Y Display mode on Scopes – additional features with RIGOL DS1000Z-series oscilloscope (DS1074, DS1074Z-S, DS1104Z, DS1104Z-S)

Posted on: July 16th, 2020 by James

New DS1000Z series offers more in X-Y mode:

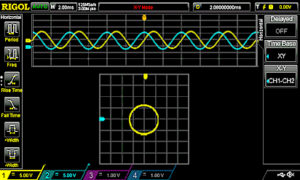
In this mode, the Rigol DS1074Z oscilloscope changes 2 of the 4 channels from voltage-time display mode to voltage-voltage display mode. The phase deviation between two signals with the same frequency can be easily measured via Lissajous method. The figure below shows the measurement schematic diagram of the phase deviation.

To access the Lissajou mode of your oscilloscope press the horizontal menu button, and then change the time scale on the screen to X-Y mode. From here you can choose between CH1-CH2, CH1-CH3, CH1-CH4, CH2-CH3, CH2-CH4 and CH3-CH4 as your inputs.

NOTE: RIGOL’s new DS1000Z-series offers two features in X-Y mode: you can still see a condensed normal signal display (Y-T) at the top margin of the screen and you can also access the Trigger Menu in X-Y mode.

Getting started with Rigol PC Software Tools

Posted on: July 16th, 2020 by James
  1. Rigol software files are downloaded in .rar data containers or .zip compressed files. The files must be unpacked or unzipped before installation.
  2. Ultra Sigma must be installed before any other Rigol application, except Ultra Wave.
  3. To open a Rigol software application after installation (excluding S1210, S1220, S1501 and Ultra Wave)…
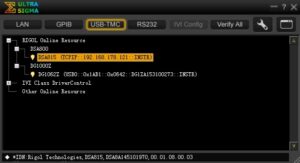
    Open Ultra Sigma > Connect your instrument > Your instrument should appear in the Ultra Sigma window (see the orange box in the picture below) > Right-click on your instrument (the orange box) and select the Rigol application.
  4. Further information can be found in the ‘Rigol Ultra Sigma Help Document’.

How do I connect my instrument via my LAN to UltraSigma PC Software?

Posted on: July 16th, 2020 by James

First of all, ensure your instrument as the option for LAN connection and ensure you have a PC running the latest version of UltraSigma download from RIGOL and this PC is successfully connected to the same local area network as you’re plugging your instrument into.

In order for you to connect your Rigol equipment via LAN you must:

  1. Ensure your instrument is connected through the LAN socket – the lights are showing green for connection.
  2. Start up the UltraSigma program on your PC.
  3. Occasionally, the LAN(IP) address* that corresponds with the instrument has already appeared in the UltraSigma utility tree view, otherwise proceed:
  4. If this does not happen right away, press the LAN button on the UltraSigma program. Here you can manually enter its IP Address*, test and add the instrument.
  5. Your instrument should now be connected to Ultra-sigma and Model & Serial Number will show in the tree view. Now you can right-click this and perform checks:
  • Try choosing SCPI Command Window – then click SendAndRead to see if the instrument responds to a *IDN? request (to identify itself).
  • On some instruments you can also Print Screen directly to windows.
  1. *IF UNSURE your own LAN is set up to allow instrument connections:
    Check with your Network Admin – they may need to set up a DHCP server, so your LAN assigns the instrument an IP Address permitted by your LAN (most small LANs do this automatically but many corporate LANs only do this with permissions in place first).
  2. Go to your instrument front panel. Press button for System or Utility – you will see I/O or LAN menu buttons: these allow you to see the IP address given to your instrument. You can often tell if your instrument is on your LAN by whether it has a sensible address (many company LANs use IPs like e.g. 10.0.0.xx)
  3. RIGOL instruments are factory default set to acquire an IP address automatically if the LAN allows this. But check this setting has not been set to manual IP.
  4. If all else fails try manually entering the IP address you find in your instrument into UltraSigma’s LAN window, and click to test. After success you can Add it.

FINALLY PLEASE REMEMBER that some RIGOL software examples and software only function fully over USB connection – please check each software item, its install procedure and remember that some example VBA code is not supported but is provided ex-gratia for use as helpful examples only.